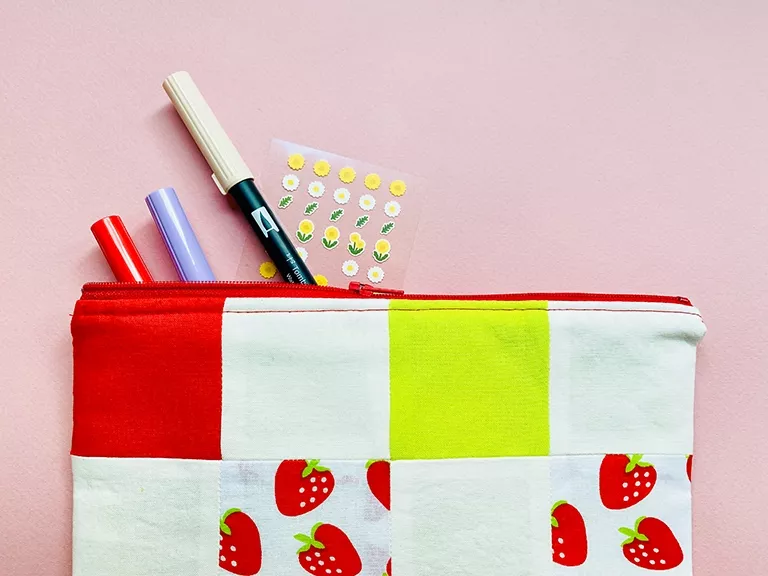
To coordinate with the pen pouch I sewed earlier this summer, I made a zippered marker pouch!
This was my second time following MADE Everyday’s zipper pouch tutorial, which is well explained and (IMO) straightforward to follow.
The last time I made one of these I had a beast of a time getting a needle through the full sandwich of fabrics + the zipper strip. I was hoping this time would be better since I had one less layer (fusible fleece instead of quilting the outside to batting + another thin layer of quilting cotton). Alas, my machine just doesn’t want to go through that thick section. I had to hand-sew a little bit, hence the lumpy bit next to the zipper.

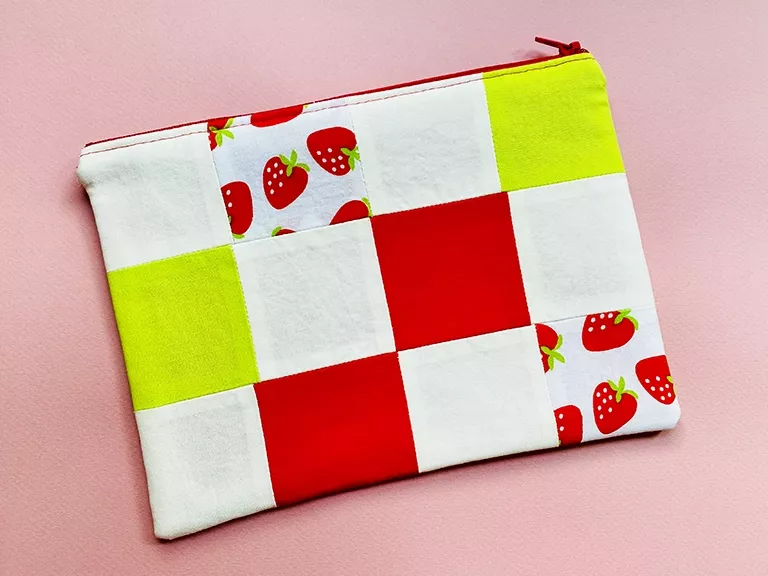
For this pouch, I knew I wanted to do a random-ish checkerboard pieced pattern, and I knew I wanted the pouch wide enough to fit those mile-long Tombow brush pens. Happily, I had a bright red 9" zipper on hand!
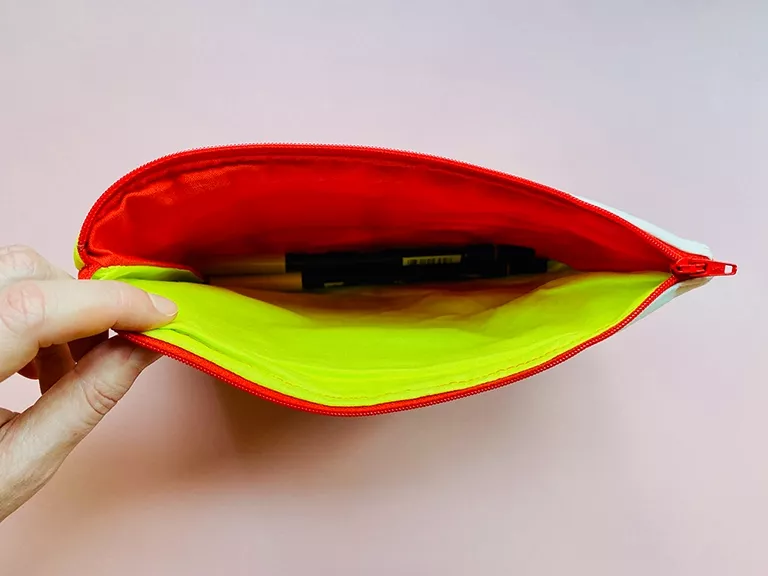
I made a game-time decision to cut two different colors for the pouch lining, and I really like the effect!
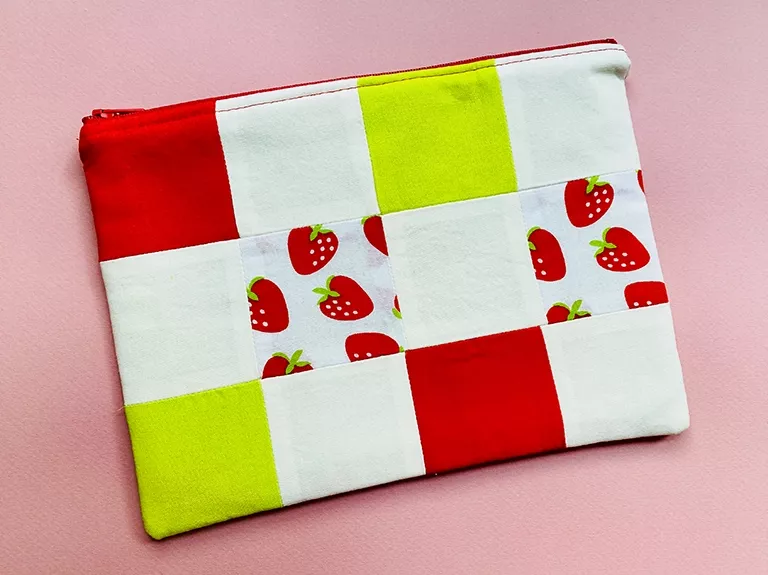
While there are obvious imperfections in this pouch, I’m actually really happy with how it turned out! The dimensions and heft of the pouch feel really nice in the hand. The thickness is nice and sturdy without being bulky, and I think this will work out well for urban sketching with my Ecoline markers. 👩🎨
Comments
No comments yet on this post.
Add a Comment